## Opening Section
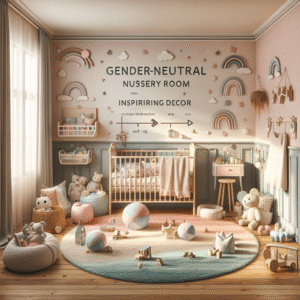
Creating a kids’ room that reflects their personality and passions can feel overwhelming, especially with the multitude of decor options available. If you’ve ever wandered through a store and thought, “That’s nice, but it doesn’t feel like *them*,” you’re not alone. A personalized space helps children feel secure and fosters their creativity.
In this guide, we’ll explore **DIY kids room decor projects** that not only enhance the aesthetics but also engage your child’s imagination. You’ll discover easy, budget-friendly ways to incorporate their tastes into their personal sanctuary, from whimsical wall art to functional yet stylish furniture upgrades.
Expect actionable tips, step-by-step guides, and even a few tricks to make the decor process enjoyable for both you and your child. By the end of this article, you’ll be well on your way to creating a space that merges functionality with fun!
—
## 1. Whimsical Wall Art (H2)
### 1.1 Upcycled Canvas Art (H3)
Upcycling involves taking something old and transforming it into something new, and it’s a perfect way to make personalized wall art for your child’s room.
#### Step-by-Step Guide:
1. **Gather Materials**: Old canvases, paint, brushes, and any decorative items like fabric scraps or stickers.
2. **Create a Base Layer**: Paint the canvas in a solid color that complements the room.
3. **Design**: Let your child sketch a design on paper, then transfer it to the canvas. Use a mix of painting and collage techniques for added texture.
4. **Seal It**: Once dry, apply a clear sealant to ensure longevity.
These personalized pieces can truly become the focal points of the room, celebrating your child’s unique style with ease.
### 1.2 DIY Wall Decals (H3)
Wall decals are an excellent way to add flair without a permanent commitment.
#### Steps to Create Your Own:
1. **Supplies Needed**: Self-adhesive vinyl sheets, scissors, and an X-Acto knife.
2. **Choose a Theme**: Decide on a theme that represents your child’s interests—be it dinosaurs, unicorns, or outer space.
3. **Design Your Decals**: Sketch shapes or characters and cut them out.
4. **Apply**: Smoothly apply the decals to the wall for a colorful, vibrant look.
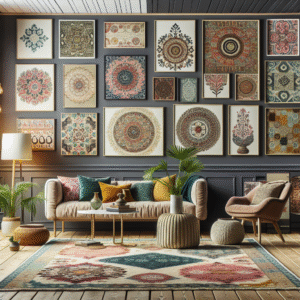
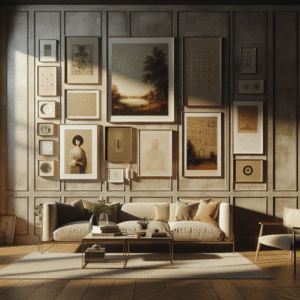
### 1.3 Gallery Wall (H3)
A gallery wall is an excellent way to display your kid’s artwork alongside favorite photos and quotes.
#### How to Build the Gallery:
1. **Choose a Wall**: Pick an empty wall in the room that can be dedicated to the gallery.
2. **Select Frames**: Use mismatched frames to add character. You can paint them in fun colors if you wish!
3. **Arrange**: Lay out your frames on the floor before hanging to find the best arrangement.
4. **Hang the Frames**: Use a level to ensure everything is straight.
This dynamic display allows for easy swapping of new art as your child’s skills improve or their tastes change.
—
## 2. Functional Furniture (H2)
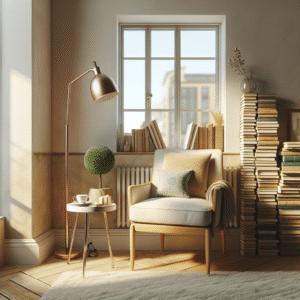
### 2.1 Customized Book Nook (H3)
Creating a cozy reading area can spark a lifelong love of literature!
#### Steps to Create Your Book Nook:
1. **Choose a Corner**: Identify a quiet space in the room where you can create an inviting nook.
2. **Add Comfort**: Use bean bags or floor cushions for comfort.
3. **Install Shelving**: Consider installing low shelves for easy access to books.
4. **Include Decor**: Add twinkling fairy lights or a canopy for a magical touch.
Allowing your child to have their own reading spot encourages them to explore new worlds through books.
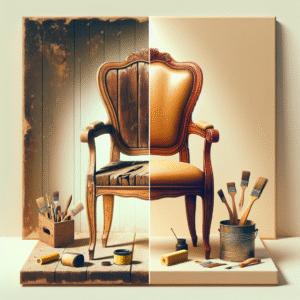
### 2.2 Painted Furniture (H3)
A little paint can transform any piece of furniture into a standout feature.
#### Refreshing Old Furniture:
1. **Pick Your Piece**: Select older furniture like a dresser or chair.
2. **Sand and Prep**: Sand down the surface and apply primer.
3. **Paint**: Choose fun colors or patterns that reflect your child’s personality; stencils can add flair!
4. **Seal**: Finish with a durable topcoat to withstand daily use.
This DIY project not only revitalizes the furniture but also makes the room feel more personalized.
—
## 3. Personalized Textiles (H2)
### 3.1 Custom Curtains (H3)
Bespoke curtains can elevate the entire ambiance of a room.
#### Steps to Make Curtains:
1. **Fabric Selection**: Choose a fabric in line with your child’s favorite colors or characters.
2. **Measure**: Measure the window and determine the length you want.
3. **Sewing**: Use a sewing machine or fabric glue for a no-sew option to create a pocket for the curtain rod.
4. **Hang**: Install a decorative rod and hang your new curtains.
Custom curtains contribute not only to the decor but can also moderate the sunlight levels, perfect for naps!
### 3.2 Cozy Throw Pillows (H3)
Throw pillows offer an easy way to infuse colors and comfort into the space.
#### Crafting Unique Pillows:
1. **Choose Fabric**: Pick fabric that aligns with the room’s theme.
2. **Measure and Cut**: Cut two squares or rectangles.
3. **Sew or Glue**: Sew around the edges, leaving a small opening. Turn inside out, fill with stuffing, and sew shut.
4. **Decorate**: Iron-on patches or fabric paint can personalize the pillows further.
Kids will love having plush pillows while reading or relaxing in their room!
—
## 4. Interactive Decor (H2)
### 4.1 Chalkboard Wall (H3)
Creating a chalkboard wall provides a canvas for your child’s creativity!
#### Implementation Steps:
1. **Select the Wall**: Choose a wall or section for your chalkboard.
2. **Chalkboard Paint**: Purchase chalkboard paint and apply as per instructions.
3. **Let Them Loose**: Equip your child with colorful chalk, and let them express themselves!
This interactive element promotes drawing and writing, turning the décor into a creative outlet.
### 4.2 DIY Activity Board (H3)
An activity board can keep your child engaged while enhancing learning experiences.
#### Steps to Create an Activity Board:
1. **Materials Needed**: A sturdy board, various items like buttons, locks, and small puzzles.
2. **Assemble Items**: Affix items to the board using screws or strong adhesive.
3. **Personalize**: Paint or decorate the board to add a personal touch.
Your child can fiddle with the board, enhancing motor skills while having fun!
—
## 5. Budget-Friendly Tips (H2)
### 5.1 Thrifting & Upcycling (H3)
More often than not, the best finds are in thrift stores or garage sales.
#### Finding Treasures:
1. **Explore Local Thrift Stores**: Visit regularly to score unique items.
2. **DIY Transformations**: Consider upcycling old frames or toys into new decor.
These reimagined items often come with character and history, enriching your child’s room.
### 5.2 Seasonal Swaps (H3)
Change the decor with the seasons without breaking the bank!
#### Seasonal Update Ideas:
1. **Simple Changes**: Swap out textiles (like duvet covers or blankets) for seasonal colors.
2. **Decorative Accents**: Add seasonal-related decor items; think leaves in fall or stars in summer.
This keeps the room fresh and exciting for your child throughout the year.
—
## FAQ Section
What are some easy DIY kids room decor projects?
There are many options, including creating whimsical wall art, personalized textiles, and interactive decor like chalkboard walls.
How can I personalize my child’s space on a budget?
Thrift shopping, upcycling old furniture, and swapping out seasonal decor can help keep costs low while still personalizing your child’s space.
What types of wall art are suitable for kids’ rooms?
You can use upcycled canvas art, DIY wall decals, or even a gallery wall featuring their artwork and family photos.
How can I make furniture kid-friendly?
You can repaint old furniture in fun colors, and seal them with a durable topcoat to withstand wear and tear.
What are some interactive decor ideas for kids?
Consider a chalkboard wall or a DIY activity board; both of these promote creativity and engagement.
—
## Conclusion & Next Steps
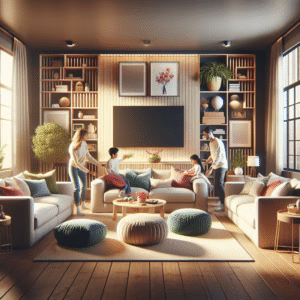
In conclusion, transforming your child’s room through DIY decor projects can be a rewarding experience for both you and your little one. From personalized wall art to interactive decor, the possibilities are endless and can significantly enhance their creative space. Remember, the goal is not just to beautify but also to provide an environment that inspires creativity and self-expression.
Now that you have a variety of ideas and step-by-step guides to get started, why not choose one project to begin today? Your child will love the transformation, and you’ll enjoy the bonding experience that comes with it!
If you’re interested in more home decor inspirations or kid-friendly activities, explore our related content on organizing playrooms and creating themed bedrooms. Let your creativity flourish!
—
####
Content Disclaimer
This article is for informational purposes only. It is not professional advice. Always consult experts for specific situations.