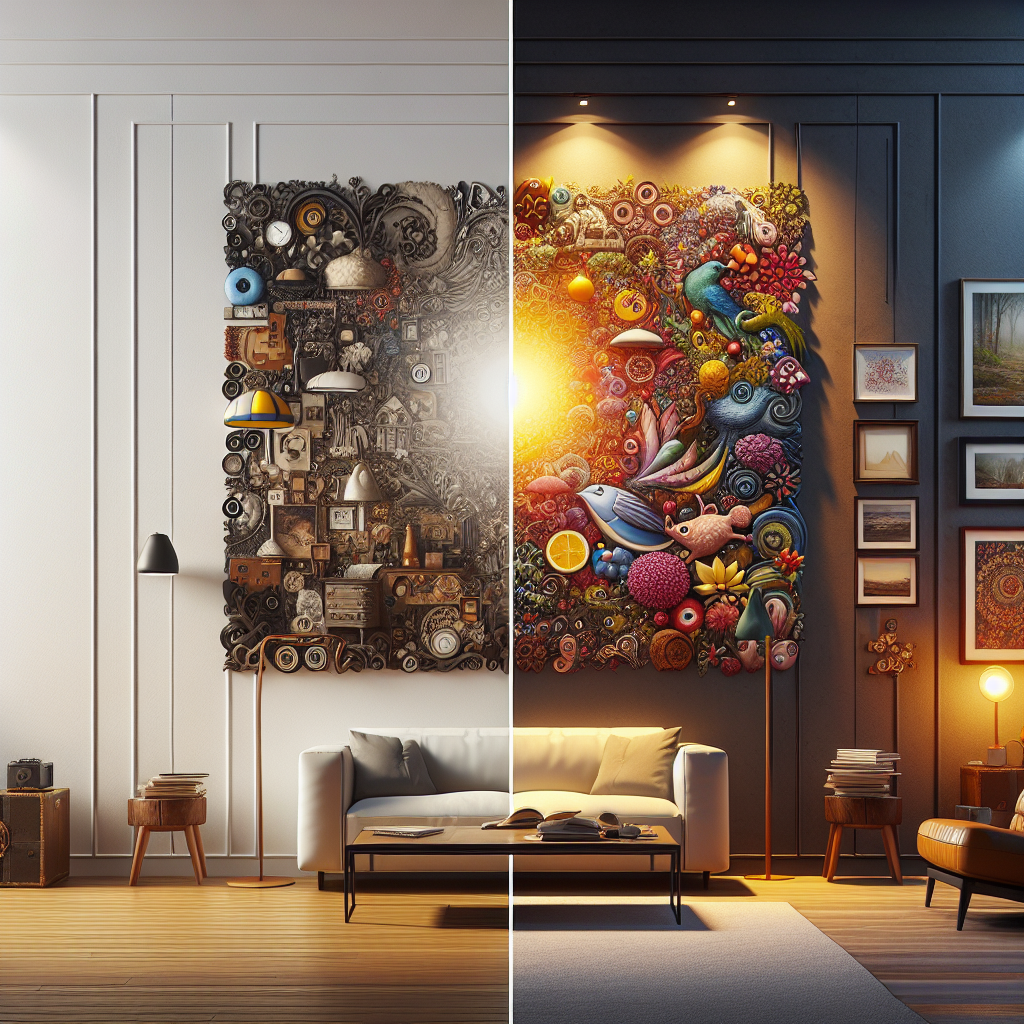
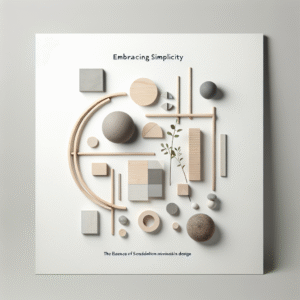
Ever walked into a room and felt… nothing? Chances are, it was missing that one *thing* that pulls it all together. You know what I’m talking about, right? A focal point. And when it comes to easily transforming a space, wall art is your secret weapon. But slapping any old picture on the wall won’t cut it. We need strategy! This guide is your step-by-step to creating an amazing wall art focal point that’ll have guests saying, “Wow!”
Why Bother with a Focal Point, Anyway?
Think of a room without a focal point as a song without a melody. It’s just… there. A focal point gives the eye a place to land, creating visual interest and pulling the room together. It adds depth, personality, and can even influence the mood of the space. Honestly, a room without one just feels unfinished.
First Things First: Assessing Your Space
Before you even think about hammering a nail into the wall, take a good, hard look at the room. What are its strengths? Its weaknesses? What are you working with? Knowing your canvas is half the battle. Consider the size of the wall, the existing furniture, and the room’s lighting. All of these factors will play a role in choosing the right art and placement.
Size Matters (and So Does Shape!)
This isn’t just about aesthetics; it’s about proportion and balance. A tiny piece of art on a massive wall? It’ll look lost. A huge canvas crammed into a small space? Overwhelming. As a general rule, your wall art should take up about two-thirds to three-quarters of the available wall space. But hey, rules are meant to be bent, right? Trust your eye.
Think about the shape of the artwork, too. A long, horizontal piece can visually widen a narrow room. A tall, vertical piece can add height to a room with low ceilings. Shape can play tricks on the eye – use it to your advantage!
Considering Existing Decor
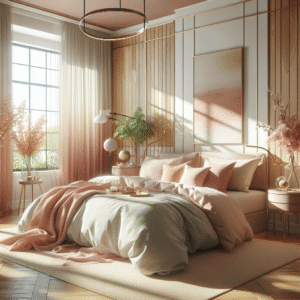
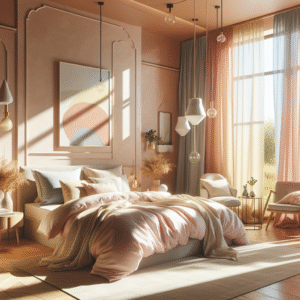
Your wall art shouldn’t fight with your existing decor; it should complement it. Consider the colors, textures, and styles already present in the room. Are you working with a modern, minimalist space? Or a cozy, bohemian haven? The art you choose should reflect and enhance the overall vibe. For example, if you have a lot of cool tones in your furniture and textiles, either mirror the colors on the focal point, or add warmth, if that fits the vibe better. It’s really up to you and what you want to accomplish.
Light It Up! (Or Don’t…)
Lighting is key. Natural light is great, of course, but consider how the light changes throughout the day. Will your artwork be glaring in the afternoon sun? Will it be lost in shadows in the evening? You might need to add dedicated lighting, like track lighting or picture lights, to really showcase your piece. The light can completely change how a piece of art is viewed, honestly.
Choosing the Right Art: Style, Color, and Subject Matter
Okay, so you know your space. Now, let’s talk art! This is where things get really fun. What kind of art speaks to you? What kind of mood do you want to create? There are no right or wrong answers, but there are some things to keep in mind.
Matching Art Style to Room Decor
Like I said before, your art should complement your decor. A super modern abstract piece might look out of place in a Victorian-style room. But hey, maybe that’s the look you’re going for! If you like a more eclectic look, make sure that the textures match!
Generally speaking:
Modern rooms: Abstract art, geometric prints, black and white photography.
Traditional rooms: Landscapes, portraits, still lifes, classic art reproductions.
Industrial rooms: Metal art, blueprints, vintage maps, graphic designs.
Color Psychology: Setting the Mood
Colors have power! They can influence our emotions and perceptions. Think about the mood you want to create in the room, and choose colors accordingly.
Blue: Calming, serene, peaceful. Great for bedrooms and bathrooms.
Red: Energetic, passionate, bold. Use sparingly in living rooms or dining rooms.
Yellow: Cheerful, optimistic, bright. Good for kitchens and entryways.
Green: Natural, refreshing, balanced. Works well in any room.
Of course, these are just guidelines. Don’t be afraid to experiment and choose colors that you love! Maybe you hate the color blue, but the color orange is your zen. Add orange to your bedroom, no one is judging!
Subject Matter: Telling a Story
What do you want your art to say? A landscape can evoke a sense of peace and tranquility. A portrait can capture a personality. An abstract piece can spark conversation and interpretation. Choose art that resonates with you and tells a story that you want to share.
And remember, the story doesn’t always have to be literal. An abstract piece can be something that has to be interpreted, and that in itself is a great conversation if you are more of an abstract art lover!
The Nitty-Gritty: Placement and Hanging Techniques
Alright, you’ve got your art. Now comes the moment of truth: hanging it on the wall. Don’t rush this! Proper placement is crucial for creating a balanced and visually appealing focal point. It might take some trial and error to get it right, but it’ll be worth it.
Finding the Sweet Spot: Height and Centering
The general rule of thumb is to hang artwork so that the center of the piece is at eye level – about 57 to 60 inches from the floor. But this isn’t a hard and fast rule. If you have particularly tall ceilings or furniture, you might need to adjust accordingly. Consider the furniture that will be there. If you have a large couch, you might have to adjust up a little higher to make it more visible.
Centering is also important. If you’re hanging a piece above a sofa or other piece of furniture, make sure it’s centered horizontally. The artwork should also be about 6-12 inches above the top of the furniture. This creates a sense of connection between the art and the furniture, making it feel like they belong together.
You know what? Sometimes, not centering it is a good choice. If your picture is small, sometimes placing it just off-center can create a look of intentional design, instead of the look of “Uh, I messed up”.
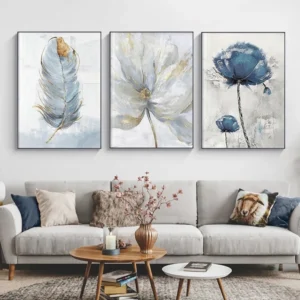
Creating a Gallery Wall: A Collection of Awesomeness
A gallery wall is a fantastic way to create a focal point, especially if you have a large empty wall to fill. The trick is to create a cohesive look by using a consistent theme, color palette, or framing style. Don’t be afraid to mix and match different sizes and shapes of artwork, but make sure there’s a sense of balance and harmony.
If you’re a collector like me, a gallery wall is the perfect way to show off all sorts of pieces that otherwise would only fit in certain places. Plus, it’s fun to change up the wall!
Here are a few tips for creating a gallery wall:
Plan it out first. Use paper cutouts to arrange the artwork on the floor before you start hammering nails into the wall.
Use a consistent spacing between the pieces. About 2-3 inches is a good starting point.
Mix and match different sizes and shapes of artwork.
Use a consistent framing style or color palette.
Don’t be afraid to experiment!
Hanging Hacks: Tools and Techniques
Okay some tips that will stop you from banging your head on the wall:
Use a level! Seriously, it’s the most important tool in your arsenal.
Use painter’s tape to mark where you want to hang your artwork. This way, you can step back and see how it looks before you commit.
Use the right hardware. For heavy pieces, use picture-hanging hooks or anchors. For lighter pieces, you can use nails or adhesive strips.
Consider investing in a stud finder. Although some command strips say they can hold a great deal of weight, they often don’t, especially on doors. So a stud finder can help you find a good, sturdy spot to hang your art.
Beyond the Visual: Adding Texture and Dimension
Wall art isn’t just about paintings and prints. You can also use three-dimensional objects to create a unique and eye-catching focal point. Think about adding texture and dimension to your walls with things like:
Sculptures: Metal sculptures, ceramic pieces, or even found objects can add a lot of visual interest.
Mirrors: Mirrors can create the illusion of more space and reflect light, making a room feel brighter and more open.
Textiles: Macrame wall hangings, tapestries, or even framed fabric can add warmth and texture.
Plants: Living walls or even a single potted plant on a shelf can bring life and freshness to a room.
Seasonal Swaps: Keeping Things Fresh
One of the great things about wall art is that you can easily swap it out to reflect the changing seasons or your evolving taste. In the fall, you might want to hang a landscape with warm colors and autumnal themes. In the winter, you could swap in a snowy scene or a piece with festive colors. In the spring, you might choose a floral print or a piece with bright, cheerful colors. Okay so honestly, this does seem like a lot, but all you have to do is swap out one painting a season if you like. I think it’s fun!
As a general rule, I would say you should take down whatever is up yearly for cleaning purposes anyway. Dust will settle on the canvas, and a good wipe with a damp washcloth is very helpful.
Wall Art Focal Point – Examples
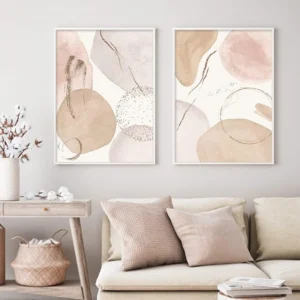
The possibilities are endless when it comes to creating a wall art focal point. Here are a few ideas to get you started:
A large abstract painting above a sofa in a modern living room.
A gallery wall of family photos in a hallway.
A macrame wall hanging above a bed in a bohemian bedroom.
A metal sculpture in an industrial-style office.
A collection of vintage maps in a study.
Mistakes to Avoid. Don’t Do This!
Creating a perfect wall art focal point can be a fun experience. But there are a few things you’d want to avoid.
Hanging art too high or too low can make a room feel out of balance.
Using artwork that is too small for the wall can make the artwork look lost.
Using artwork that clashes with the existing decor can create a jarring effect.
Hanging artwork in direct sunlight can fade the colors.
Final Thoughts: Trust Your Instincts
Creating a wall art focal point is all about expressing your personal style and creativity. There are no hard and fast rules, so don’t be afraid to experiment and have fun! Trust your instincts, and choose art that you love and that makes you happy. After all, it’s your home, and it should reflect your personality.
I hope you find something wonderful to bring your space to life!
A focal point is a design element that draws the eye and creates a sense of visual interest in a room. It serves as the primary area of attention and helps to anchor the space.
How do I choose the right size wall art for my space?
As a general guide, your wall art should take up about two-thirds to three-quarters of the available wall space. Consider the size of the wall and the furniture it will be placed above to ensure a balanced look.
What is the ideal height to hang wall art?
The ideal height is typically with the center of the artwork at eye level, approximately 57 to 60 inches from the floor. Adjust as needed based on ceiling height and furniture placement.
How do I create a cohesive gallery wall?
To create a cohesive gallery wall, plan the layout in advance, maintain consistent spacing between pieces (about 2-3 inches), mix sizes and shapes, and use a consistent framing style or color palette.
Can I use mirrors as wall art focal points?
Yes, mirrors can be excellent wall art focal points. They create the illusion of more space, reflect light, and add visual interest to a room.
How often should I change my wall art?
You can change your wall art as often as you like to reflect seasonal changes, evolving tastes, or special occasions. This helps keep your space fresh and updated.
What types of wall art work best in a small room?
In a small room, consider using larger pieces of art to make a statement, or mirrors to create the illusion of more space. Avoid cluttering the walls with too many small items.
DISCLAIMER
This guide provides general recommendations for creating a wall art focal point. Individual results may vary based on personal preferences, room size, lighting conditions, and existing decor. Always use caution when hanging art and follow manufacturer guidelines for hanging hardware. The author and publisher are not responsible for any damages or injuries resulting from the improper use of this information.
To provide the best experiences, we use technologies like cookies to store and/or access device information. Consenting to these technologies will allow us to process data such as browsing behavior or unique IDs on this site. Not consenting or withdrawing consent, may adversely affect certain features and functions.
Functional
Always active
The technical storage or access is strictly necessary for the legitimate purpose of enabling the use of a specific service explicitly requested by the subscriber or user, or for the sole purpose of carrying out the transmission of a communication over an electronic communications network.
Preferences
The technical storage or access is necessary for the legitimate purpose of storing preferences that are not requested by the subscriber or user.
Statistics
The technical storage or access that is used exclusively for statistical purposes.The technical storage or access that is used exclusively for anonymous statistical purposes. Without a subpoena, voluntary compliance on the part of your Internet Service Provider, or additional records from a third party, information stored or retrieved for this purpose alone cannot usually be used to identify you.
Marketing
The technical storage or access is required to create user profiles to send advertising, or to track the user on a website or across several websites for similar marketing purposes.
We noticed you're visiting from United States (US). We've updated our prices to United States (US) dollar for your shopping convenience. Use Australian dollar instead.Dismiss